Creating a Portal and Associated Tasks
Create a portal
From the left navigation bar, select Portals > Create Portal.
On the "Info" tab, supply the requested information.
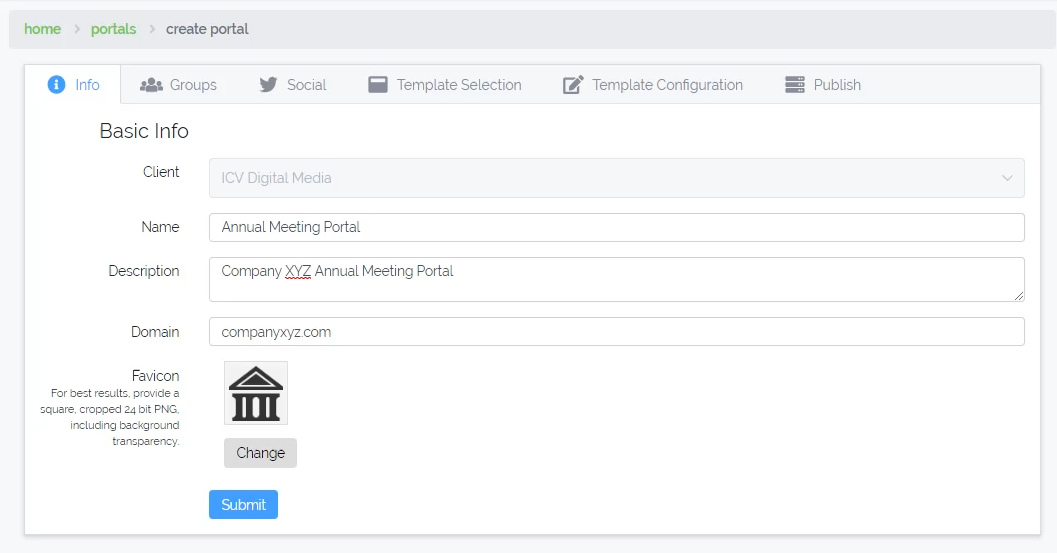
- Select the client who the portal belongs to (applies to super administrators only)
- Enter the name of the portal
- Enter a brief description
- Provide the domain of the portal (e.g. companyxyz.com)
- Optionally, provide a favicon
- A favicon is the image that appears in the browser tab when a user visits your website
- Click "Submit" to save your changes
Now that you have provided the basic portal information, you can move between the other tabs.
Social Media Sharing
More details to come....
Template Selection & Navigation Configuration
While still in the portal edit UI, click the Template Selection tab to view the different templates, choose a
template to apply to your portal and configure the portal navigation.

- Filter templates by event type (Conference, Townhall, Bootcamp)
- Select a template suitable to your need
- Edit the labels of the navigation elements that will appear in your portal
- Turn navigation items on or off
- Modify the order of your navigation elements by dragging and dropping the items in the list.
Once this is setup how you like, you can move on to configuring your template.
Template Configuration
Template configuration can vary greatly from template to template. Here we'll outline the basic structure of this process, and the core UI elements, and how they work.
TIP
The options presented in this UI are defined by the template. A template will expose all of the various elements that can be configured through this UI.
Global Configurations
Global configurations are exactly what they sound like. These are generally configurations, settings and content that are used globally throughout a portal. These include things like portal header & footer, fonts and colors used throughout the portal, etc.
Misc. Configurations
Misc. configurations are generally settings & options that are not global options, but also do not fit in the context of a specific page of the template either. These can include things like enabling a specific feature, or text for a message that may appear as a result of submitting a form.
Page Specific Configurations
Page specific configurations are organized to be options, settings & content specific to a particular page, or section of the portal. These can include things like HTML content on a page, selections for different layout options, colors for specific buttons, etc.
Core UI Elements
HTML Editor
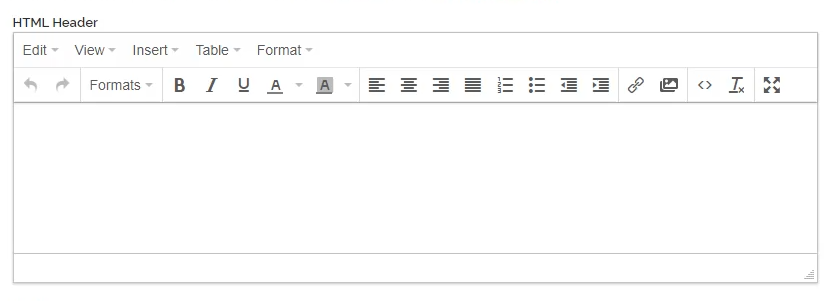
The HTML editor allow you to provide HTML that will be embedded in your portal. It supports basic text styling & formatting, inserting links, inserting images, inserting & editing tables. It also supports full HTML source code editing.[1]
WARNING
Tags, such as <link> are <script> allowed here. Inline JavaScript is also not allowed.
Color Picker
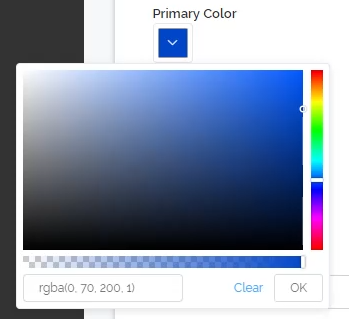
The color picker allows you to specify a color, using a sliding scale. You can also adjust hue, lightness and opacity using the provided slider elements.
Font Selection
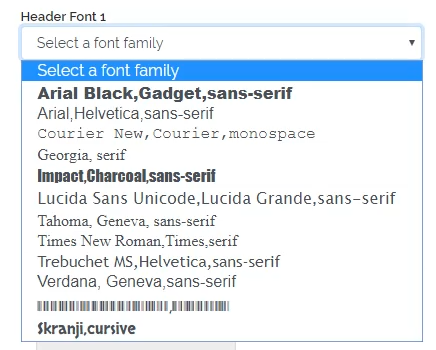
Font selection will display the available fonts for a given template, and will also display each font rendered using the appropriate CSS rules for the selected family. That is, whatever font you select, it should display for you the way it would in the eventual, published website.
Single Image Selection
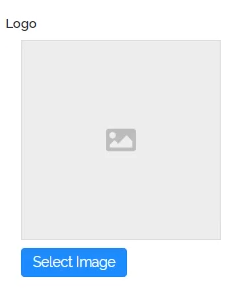
The single image select component will allow you to upload, then select an image to insert into the portal.
Mulitiple Image Selection
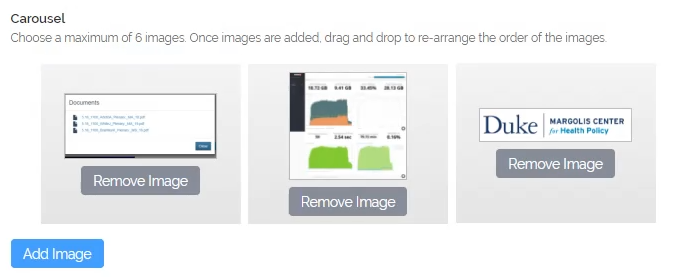
In some instances, a template will allow for multiple images to be uploaded in a single UI. This is sometimes used for a Slide Show, or Carousel widget. The multiple image select component will allow you to upload and select multiple images.
TIP
There is often a limit on the number of images that can be supplied here.
On/Off Toggle
The basic On/Off toggle is used anytime there is a feature or section that needs to be turned on or off.
Drop Down
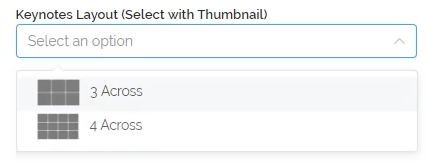
Drop down select boxes allow users to select between a number of options. In some cases, thumbnails are also provided inside the drop down list to help illustrate a particular selection.
Multiple Select (checkboxes)
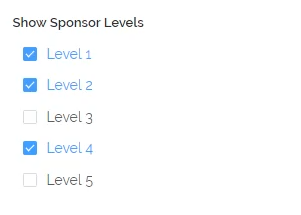
Checkboxes allow users to select multiple options at once. This is sometimes used to help a template determine what information do display on a given page. For example, for list of presenters, there may be checkbox options to allow the template to display the following data for each presenter:
- Job Title
- Company
- Webiste URL
- Address
Text and Numeric Input

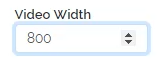
Simple text and numeric inputs are used anywhere the template needs this basic information type. Numeric inputs are sometimes used to provide dimensions for various elements on the site. For instance, the width of a video player. Text inputs are used for many things, including proving labels to various headers & buttons in the portal.
Publishing
More details to come....
DNS Publishing
Top Level Domain Name
e.g. mydomain.com
To publish a TLD, your domain name needs to point to the V3Plus NameServers. You will need to edit your name servers to point to the following:
- ns-1697.awsdns-20.co.uk
- ns-1043.awsdns-02.org
- ns-353.awsdns-44.com
- ns-954.awsdns-55.net
Sub Domain
e.g. webcast.mydomain.com
To publish a sub-domain, you will need to create a DNS CNAME Record that point to the V3Plus network.
| Name | TYPE | VALUE | TTL |
|---|---|---|---|
| webcast.mydomain.com | CNAME | portals.v3plusportal.com | 600 |
Mail DNS (sub-domains only)
There are also additional mail records that need to be added to your DNS record in order for you to be able to send and receive emails.
TIP
Mail DNS publishing Only applies to sub-domains. If you are publishing a TLD (e.g. mydomain.com), all the DNS stuff is handled automatically.
CAUTION
Once your DNS is published, contact ICVDM in order to finalize the email DNS setup for your portal. Otherwise, emails (like the user registration email), will not be able to be sent from the portal.
Publishing the portal files
More details to come....
Publishing & Updating CSS
More details to come....
Footnotes
When editing raw HTML, the editor does its best to maintain the full HTML source provided. However, sometimes the editor will add or modify markup to conform to it's own built-in rules. ↩︎